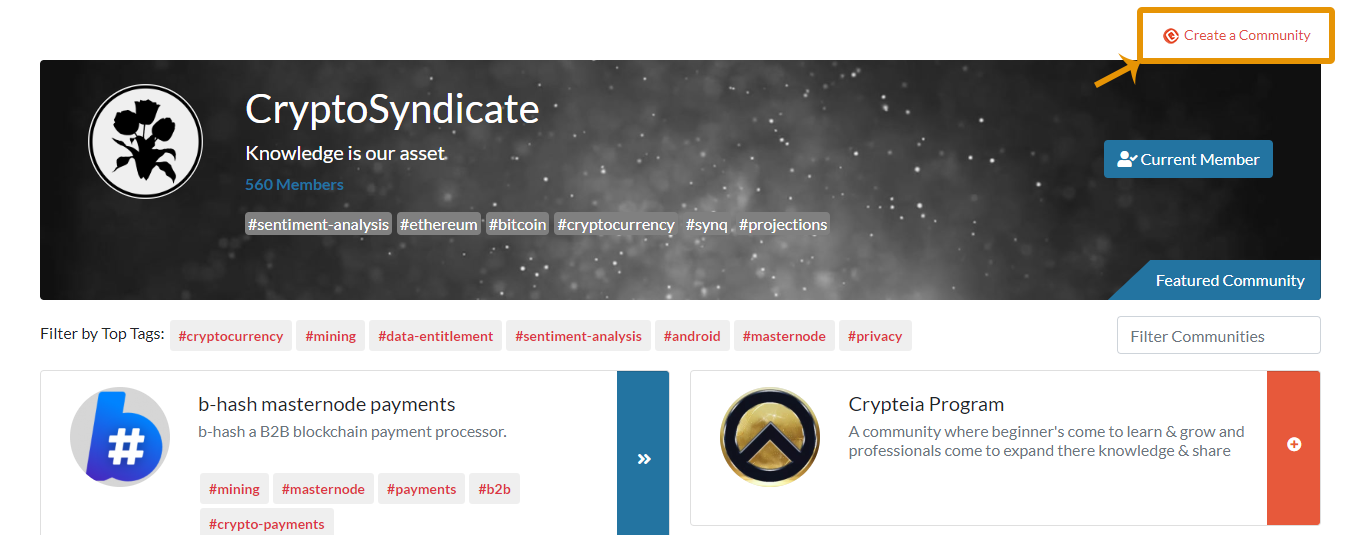
Create a Community
Creating a community in SynQ UP is easy and streamlined. Once you have logged into SynQ UP you will see the community dashboard which shows you all the publicly accessible communities. In creating a community, you will have the ability to #tag it with the general topics or overview about you community. These tags can be searched by new users to SynQ UP to find the best fit for the community they are searching for. You will see in the top right corner of the page a link that says “Create a Community.
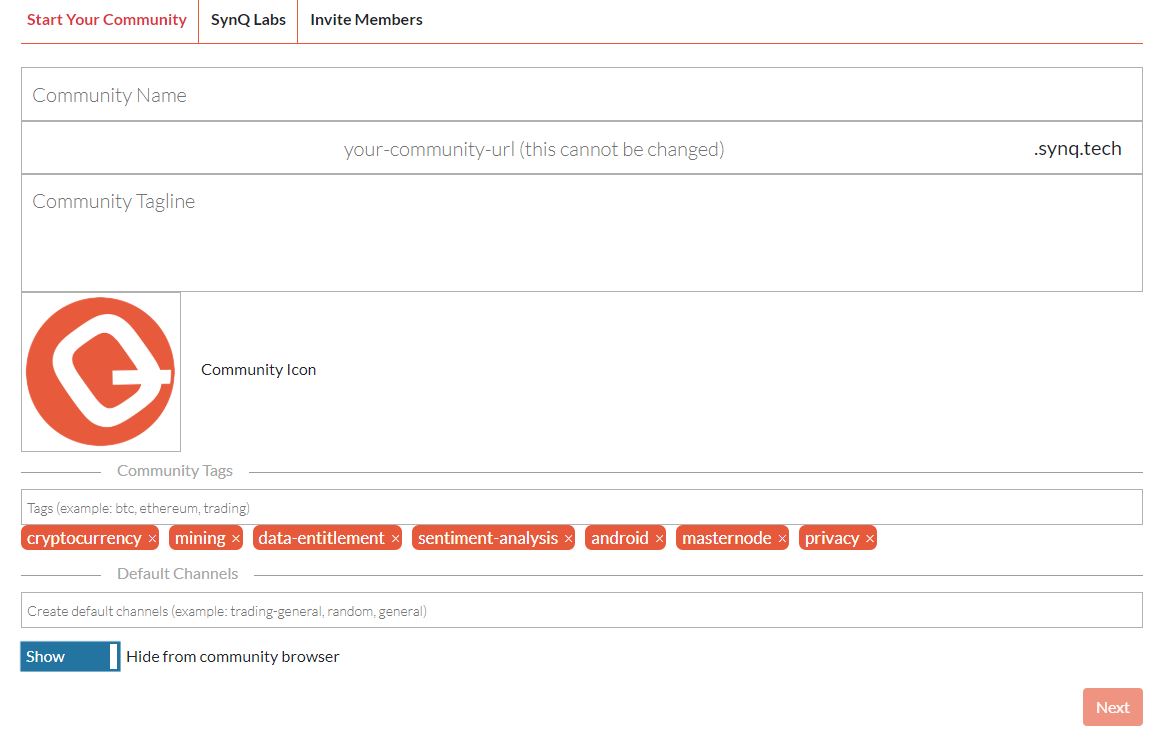
Start Your Community
Bingo! First step in the “Start Your Community” tab is naming your community. This is the permanent URL that cannot be changed. Next is adding a community tagline followed by an icon, hashtags and the default channels you want to be created when you launch your community. Lastly, you can use the toggle if you want your community to be seen publicly in the community browser. All of these options can be edited or changed at any time except for the URL.
SynQ Labs
“SynQ Labs”, gives you the ability to have a premium community, premium channels, add the Giphy Keyboard, toggle the bad word filter (English only), and the ability to have polls in your community. These are all activated or deactivated with the toggle switch.
Invite Members
The last tab, Invite members, is for…you guessed it, inviting people to your community! If they are already a member of SynQ UP, you can search for their username and directly invite them. They will receive and email in which they can accept the invitation and directly access your community. If they are not an existing member, you can add their email address which will invite them to SynQ UP to create an account at which point they will be automatically added to your community. Once you are done with this step, click the “Save&Close” button and you have finished creating you community!
Set Up Your Community Channels
On the left hand side of the screen click the ( ) next to channels to create a new channel. The toggle switch on the top gives you the ability to have two types of channels
- Private – Only you and whoever is invited in the channel can see it. You can invite people directly to this channel. This type of channel is good for internal team or community leaders discussions or anything you want private from the rest of the community,.
- Public – This channel will be available for everyone in the community to join. You can invite people directly to this channel.
Naming the channel is next followed by an option to add a topic of the new channel. You can add specific people to the channel or selecting “auto join all users”
For more information on the SynQ UP channels and user interface, check out this article.